

Find the free design for this tutorial here.
Penguin Gift Tag - Step-by-Step Tutorial (Cricut Design Space)

Step 1
Upload the Penguin Gift Tag PNG to Design Space by clicking upload from your blank canvas and then "Upload Image" from the upload screen. There you will browse to where you have the image saved on your device and select it and then open it.
Step 2
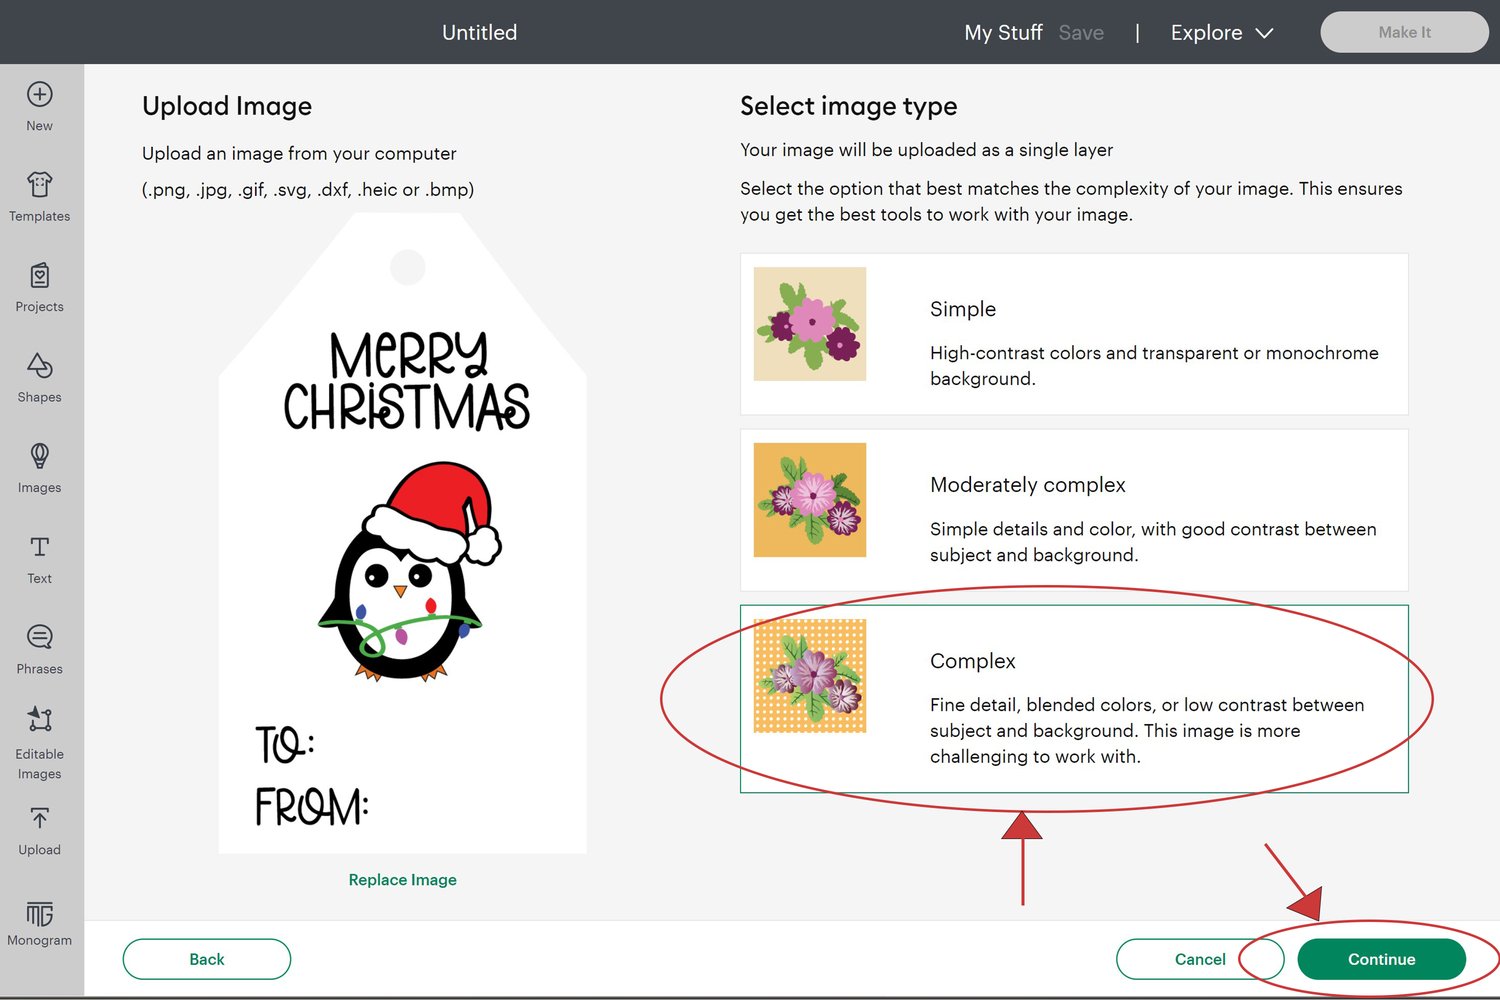
Once opened, click “Complex” then click the green “Continue” button.

Step 3
Next, click the green “Apply and Continue” button.
Step 4
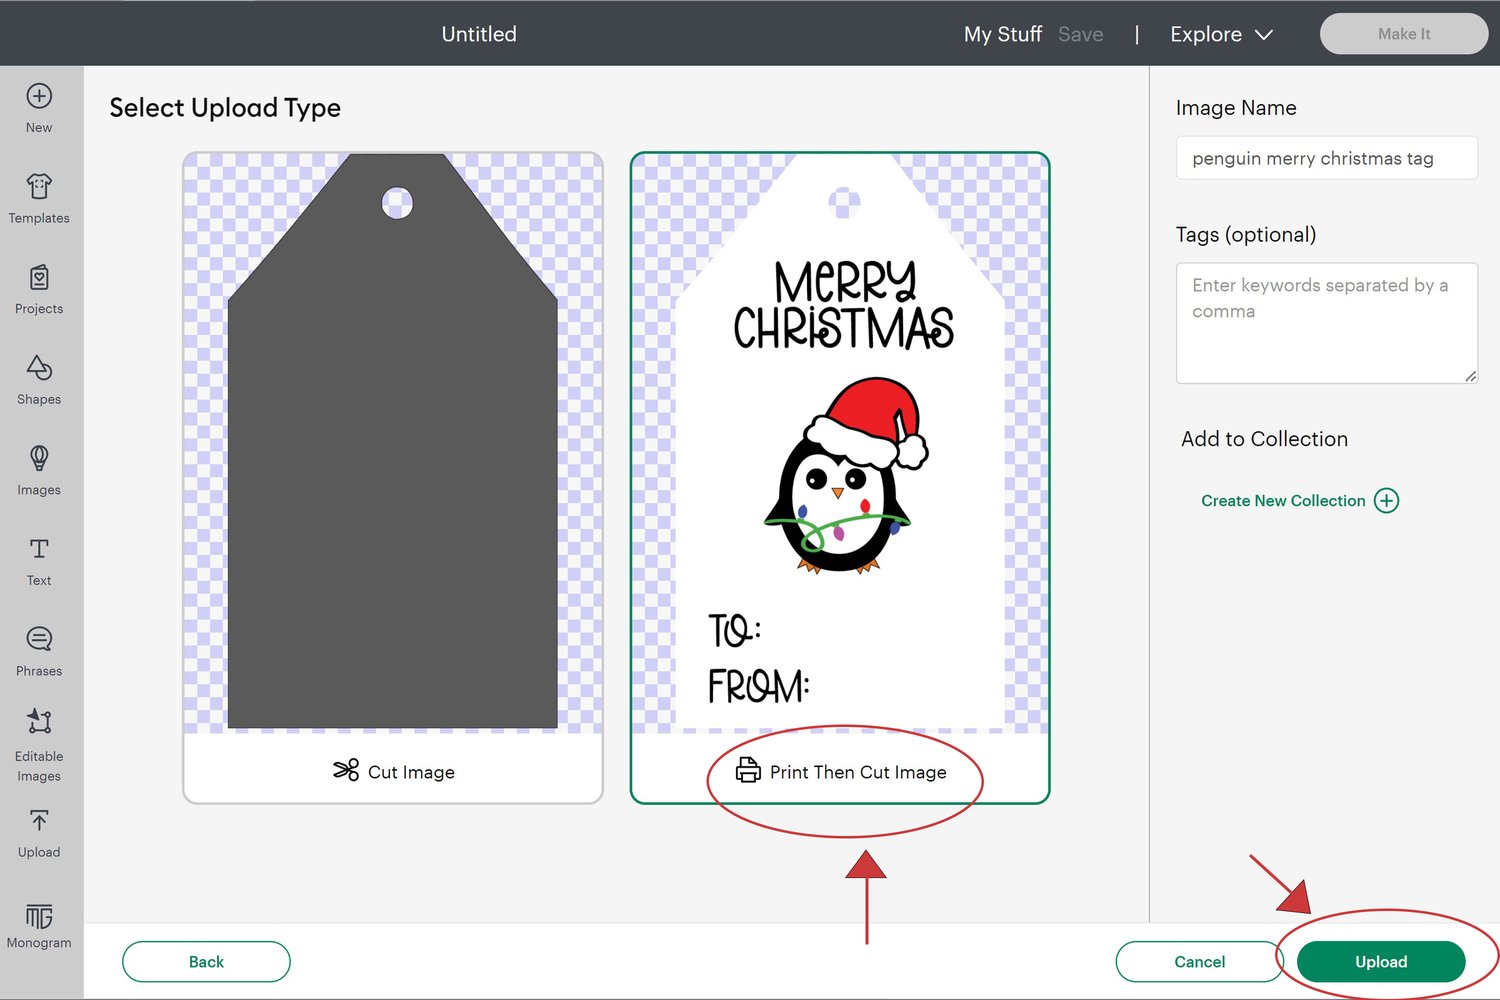
Click the box that says “Print then Cut Image,” then click the green “Upload” button.
Step 5
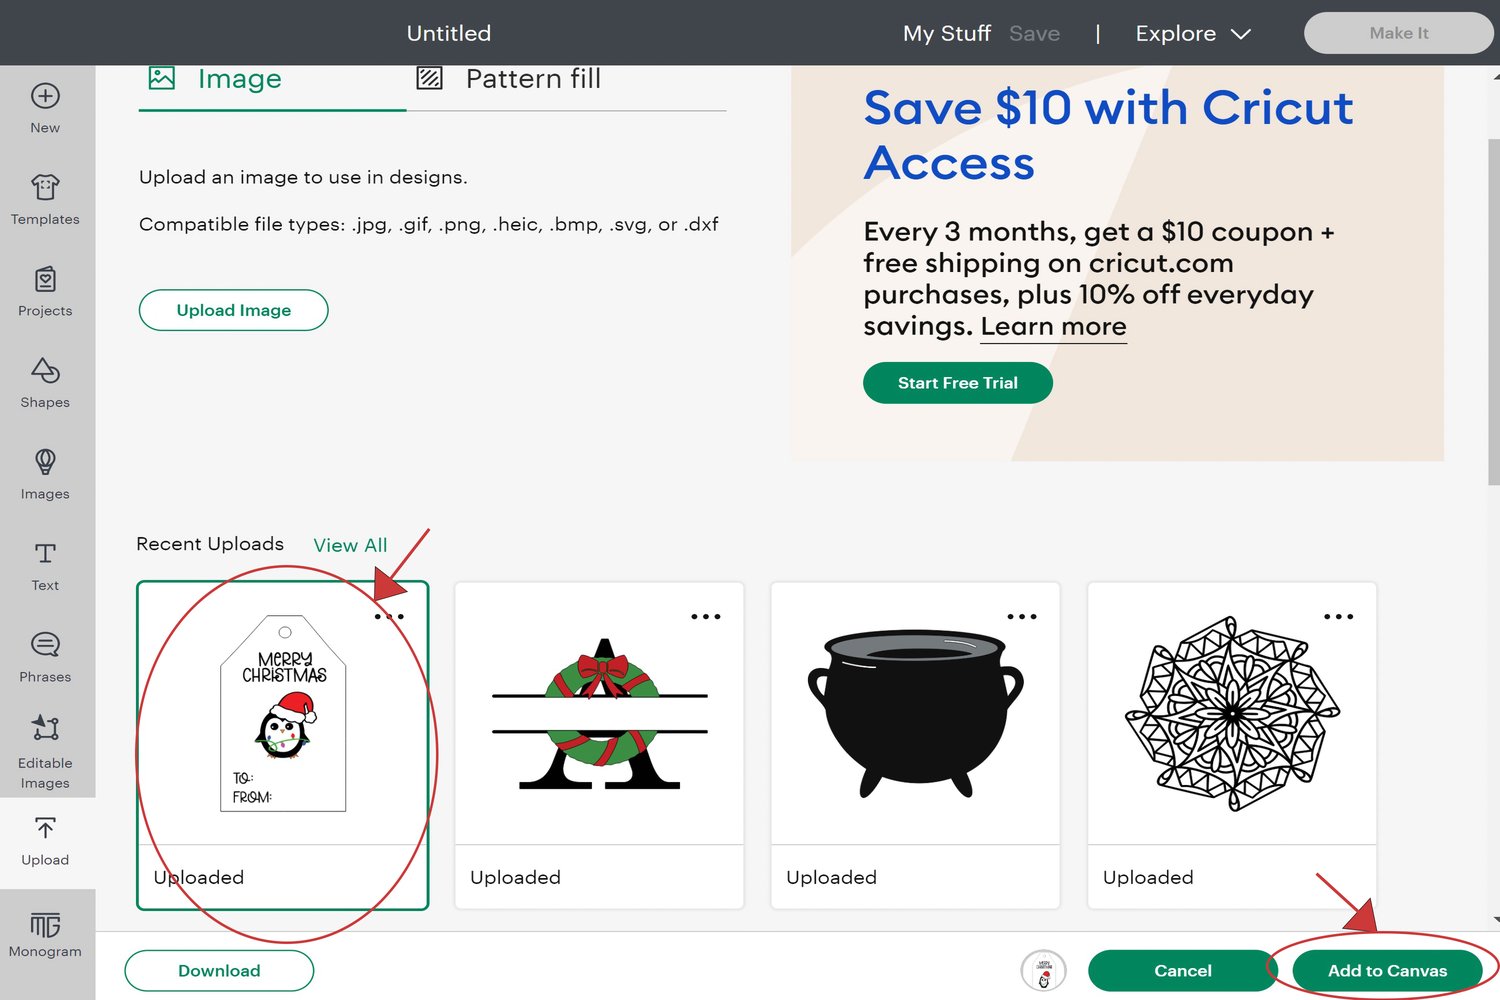
Under recent uploads click the image to highlight it and then click the green “Add to Canvas” button.
Step 6
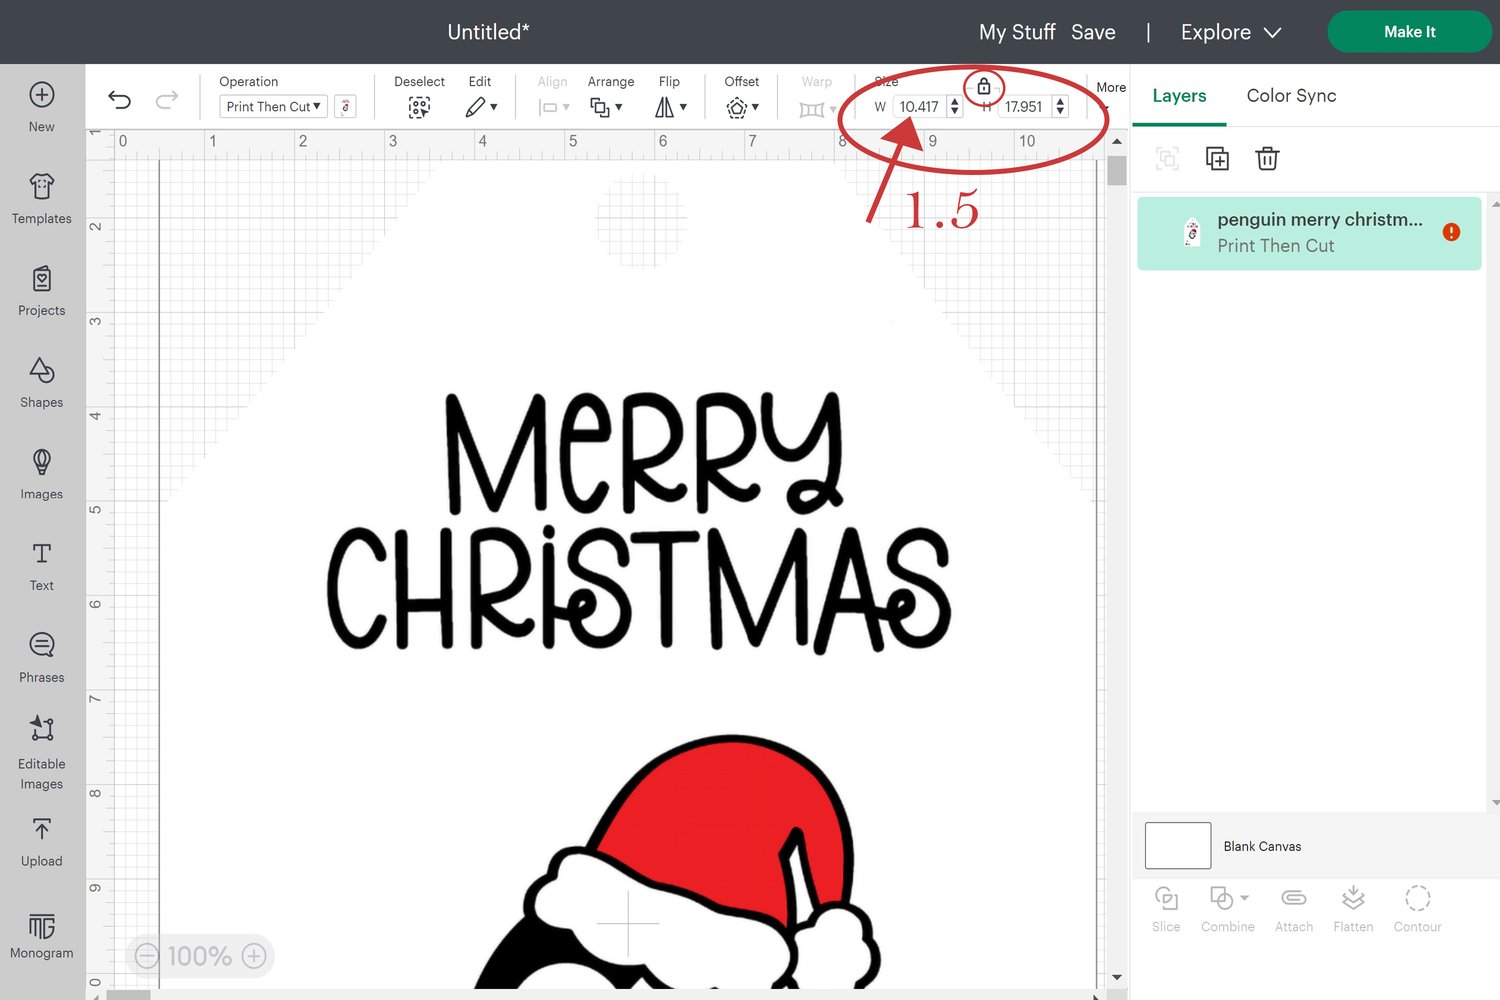
The image will import very large. The reason for this is so that it uploads at a high resolution. Size the image to an appropriate tag size. I like to make mine approximately 1.5” wide. At this size I can print twelve tags per 8.5 x 11” cardstock sheet. It can be re-sized by dragging the corner of the box or by changing the width at the top to 1.5 (with the proportions locked).
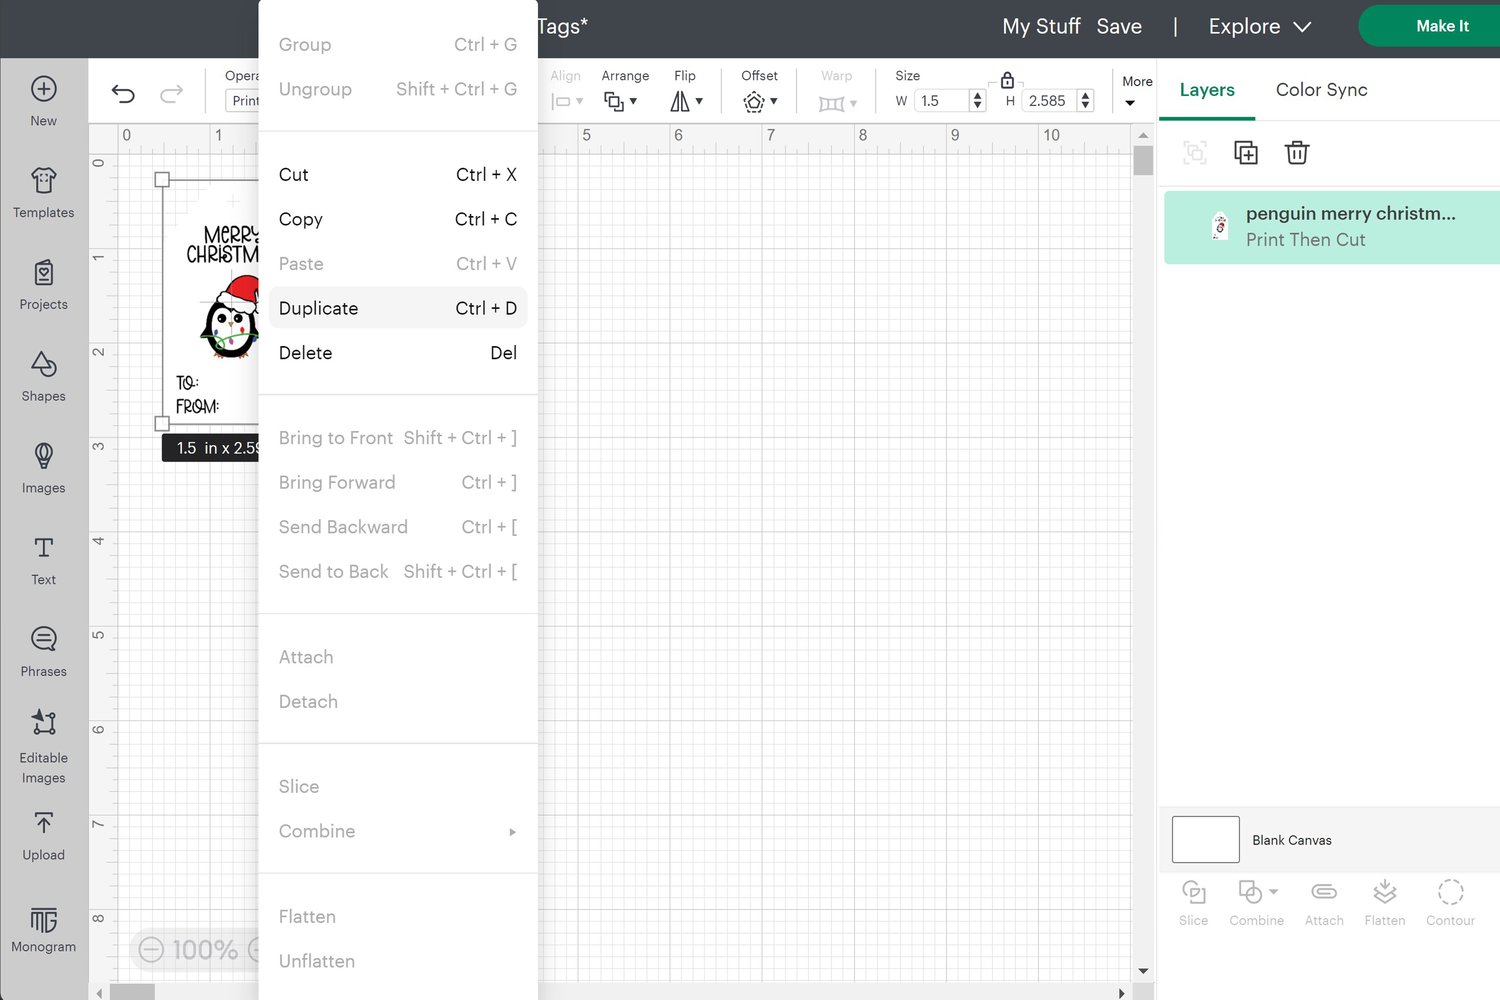
Step 7
Right-click on the image and click duplicate. You can do this as many times as you want depending on how many tags you need. You can also select a few at a time and then duplicate them together. I like to make one row of 4 and then select and duplicate the entire row for a total of 12 on the mat.
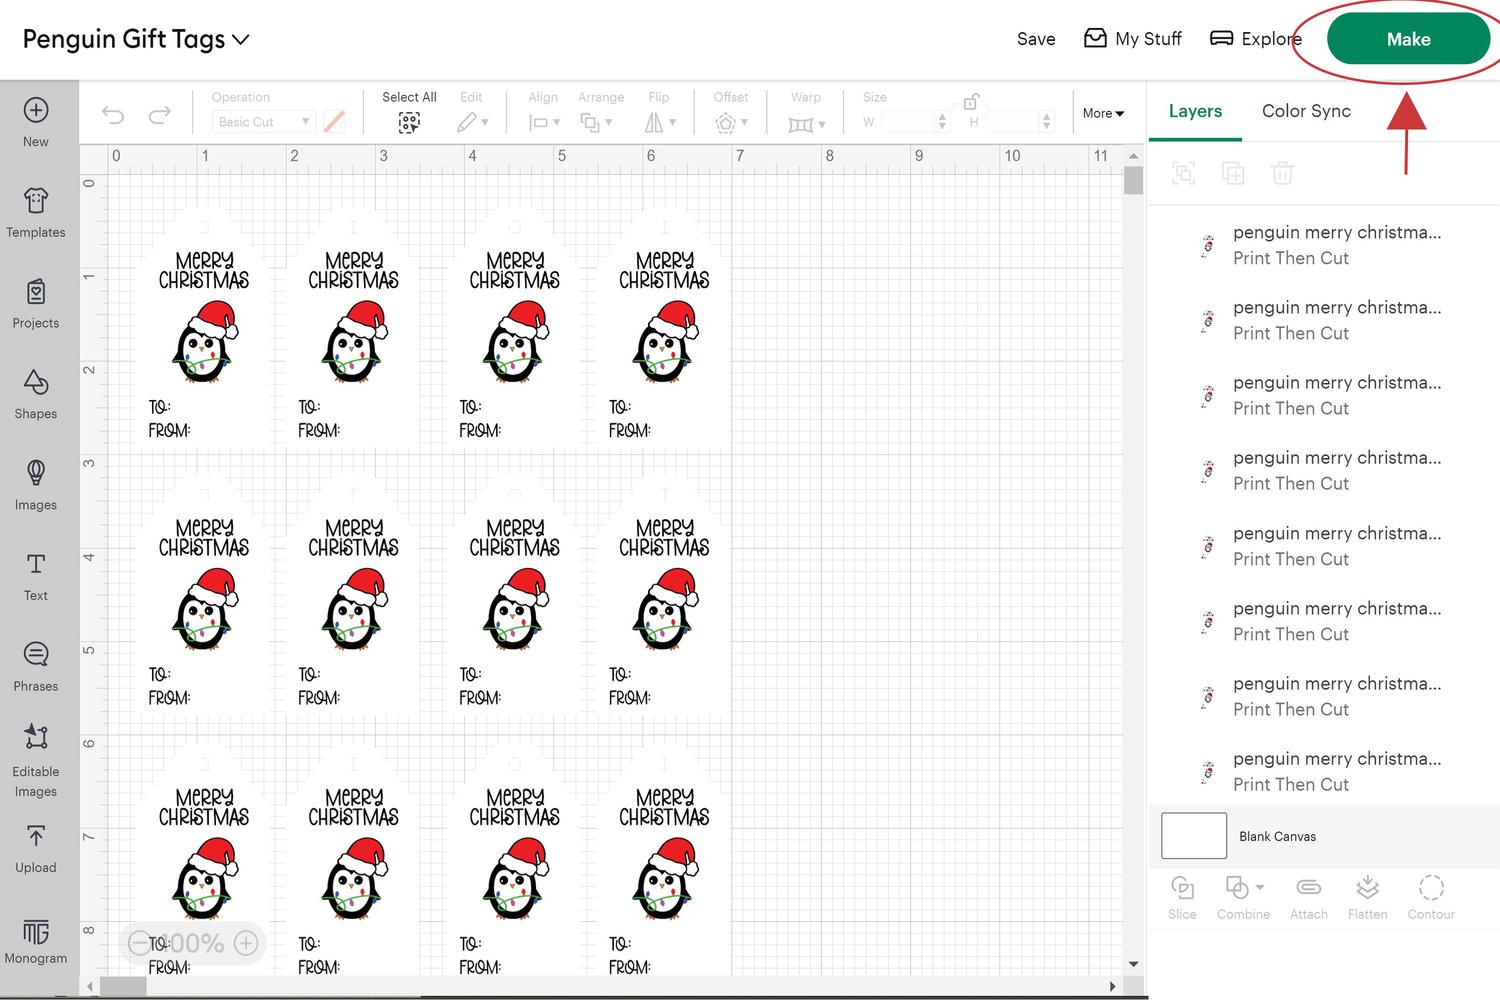
Step 8
In the top right corner, click the green “Make It” button.

Step 9
You will then see this screen. Tip: You can go back and resize or delete if you have more pages than you planned for. When finished, click the green “Continue” button.

Step 10
On this page, you will select your machine and then click “Send to Printer”. This is where you will select the printer you would like to use. Place cardstock in your printer tray, make sure to turn off bleed, and then click “Print”.

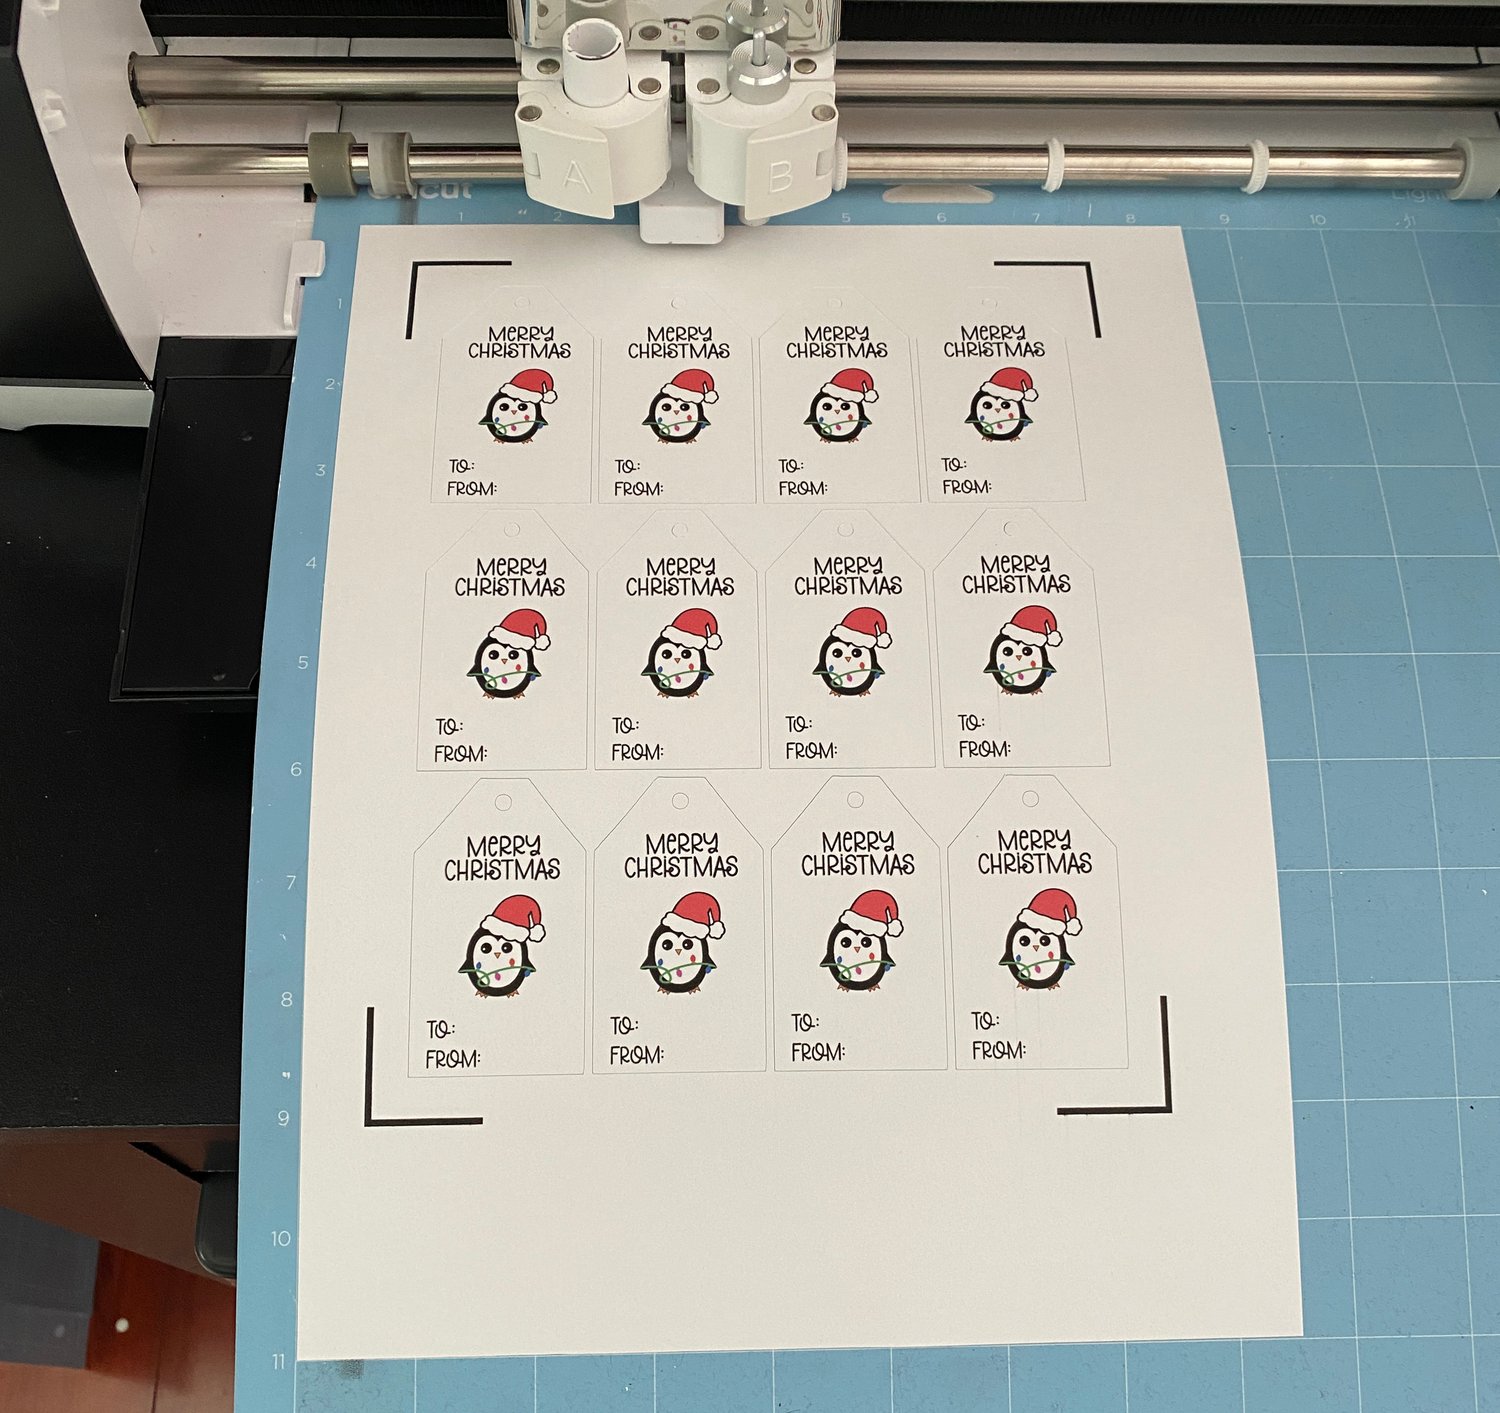
Step 11
The images will print out on your printer with black registration marks around them. These marks will tell your Cricut where to cut so that your images end up in the center of the tag shape.

Step 12
Place your printed sheet on a Cricut Mat and load it into your machine. Set your material to cardstock.
Step 13
Click the “Go” button to start the machine. Before cutting, your machine will spend a few minutes scanning the registration marks so that it cuts with correct positioning. When it is finished scanning it will cut the tags.
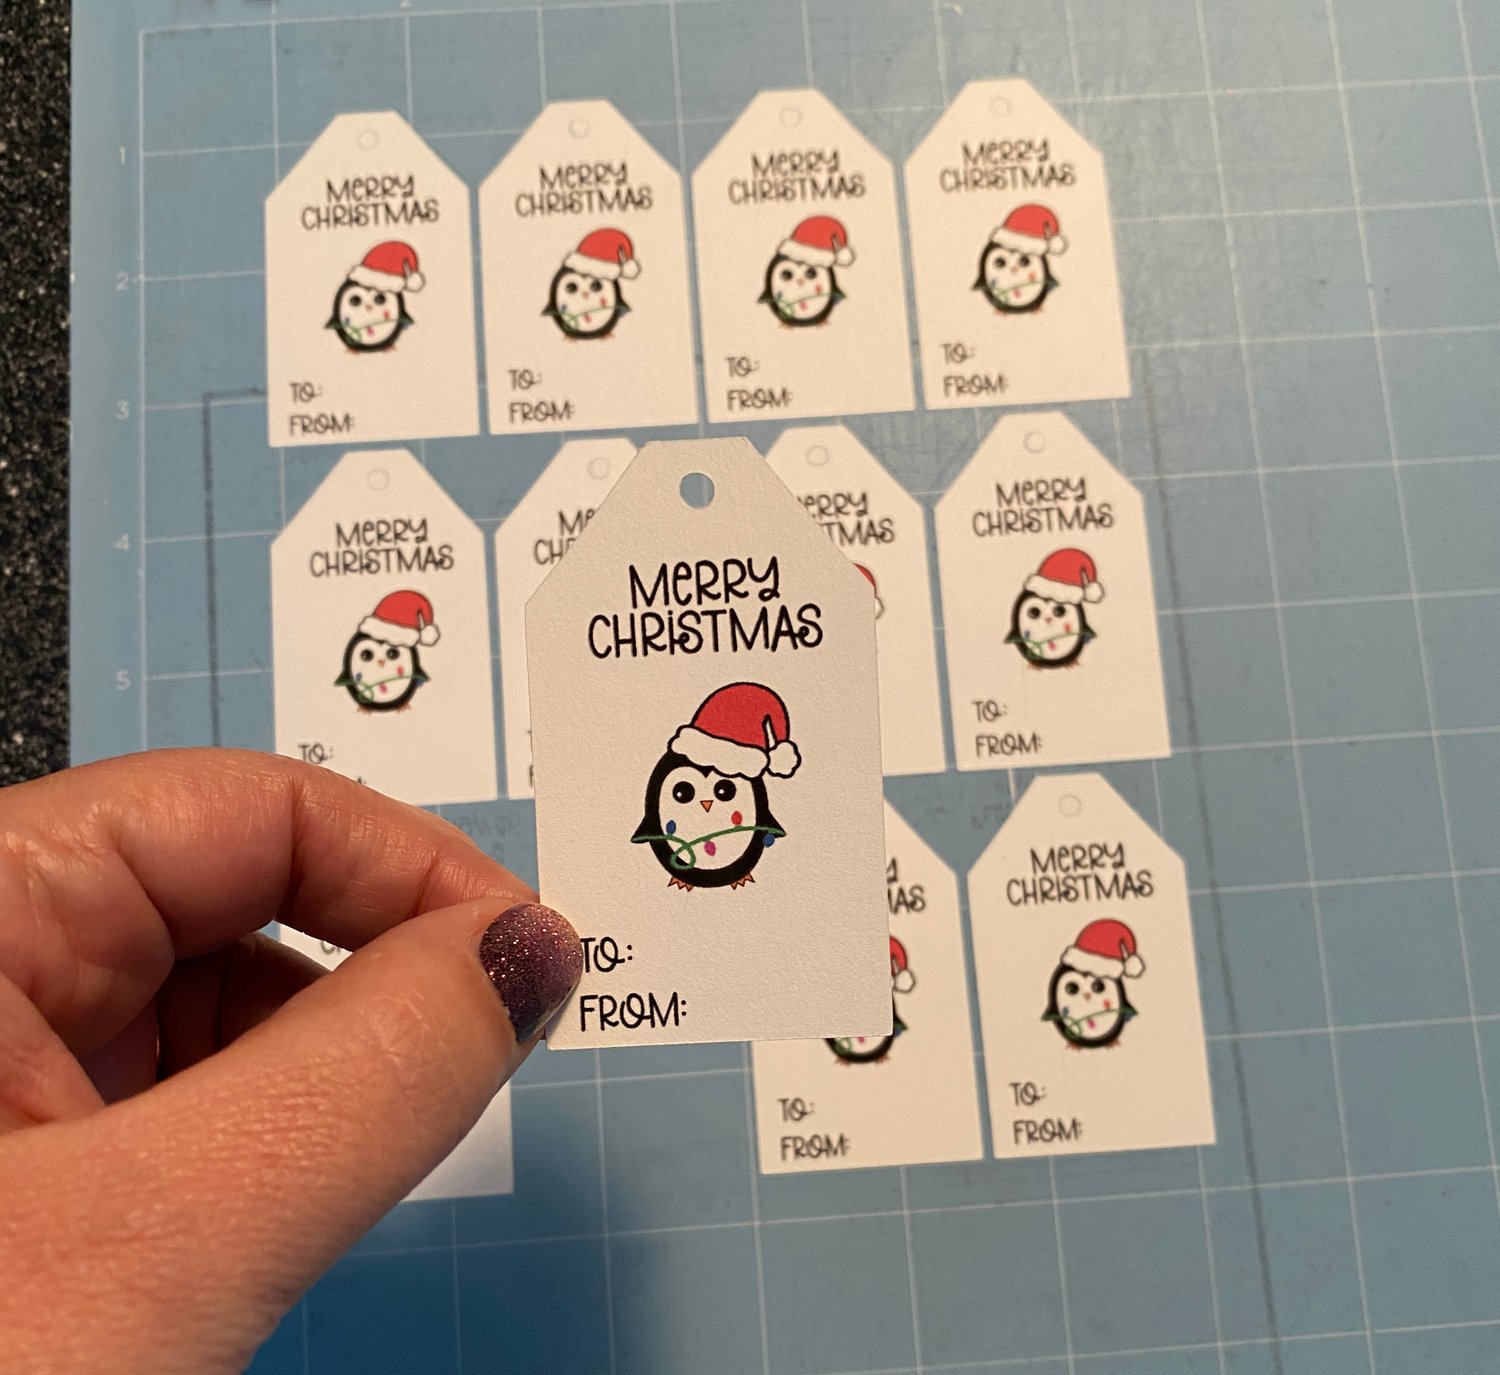
Finished Tags
When complete, unload the machine and remove your finished tags from the mat.

Add to Gifts!
Fill in the to/from information and add to your Christmas gift!